Painting molding is an important part of an interior painting job. Sloppy work will detract from the overall effect of even the most perfectly applied wall paint. A number of tips may prove useful, whether you’re completely replacing old molding, installing new molding, or you’re painting over existing molding.
Tip #1: If you’re replacing molding, it may be easier for you to measure, cut, and paint the molding before attaching. Doing so will only require a few touchups at the seams and where nails have been used. Avoid denting the wood with the hammer! (See tip #2)
Tip #2: If you’re replacing molding, use only finishing nails on the molding and not flat headed nails that are used on studs or foundations or sheet nails used on drywall or sheet rock. Finishing nails come in a variety of sizes and are ideal for both crown and base molding needs. With the hammer, nail only to just above the surface of the molding and then use a metal, pointed dowel that will fit into the groove of the top of the finishing nail, and then tap firmly until the head is just beneath the surface of the molding.
Tip #3: When painting wood crown or baseboard molding already in place, ensure that you’re working on a smooth surface. Sand off old, chipped paint, fill in dings or dents with wood filler and then smooth with fine grit sanding paper around the repaired areas or any other imperfections. Tape off ceiling and flooring with painter’s tape. Take your time painting so that the paint ends up only on the molding and not too much onto the painter’s tape, which risks uneven edges.
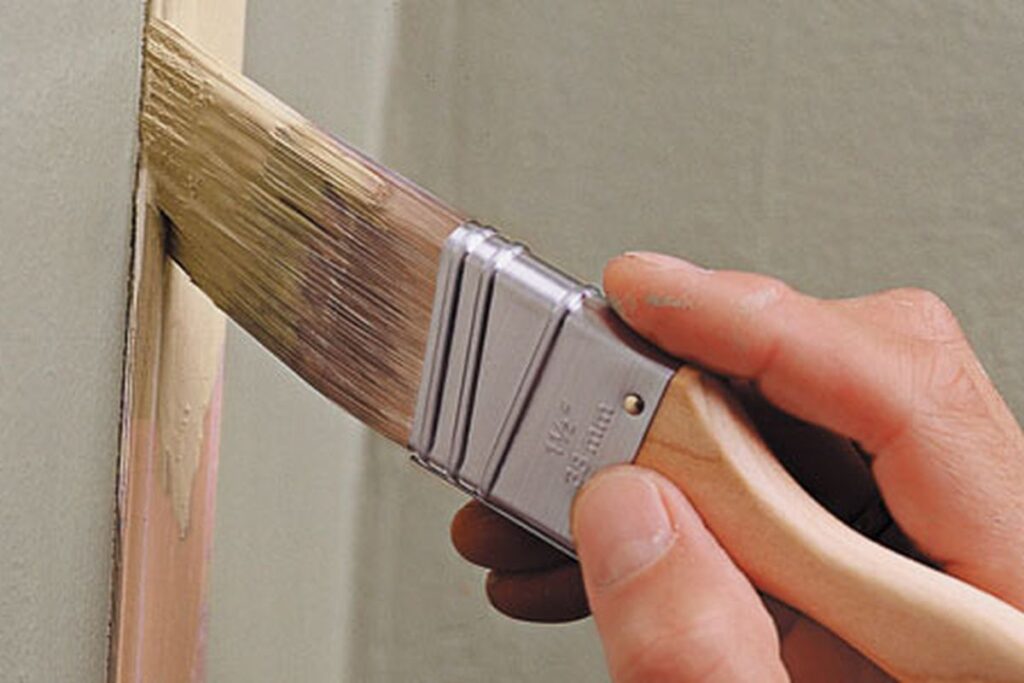
Tip #4: Painting molding requires, for the most professional looking results, the use of a high quality and angled brush. An angled brush not only makes it easier to paint along the surface of the molding, but resists “spread” of paint as it’s going on and more control over where the paint ends up. As when you’re painting walls, use long, even brushstrokes. For molding that has a decorative surface, it may be easier to go over those first and then go back over to ensure that all grooves have been filled. As always, avoid lap marks.
Tip #5: The surface of wood or even synthetic or plastic molding, regardless of its scrolls or carvings, offers a typically smoother surface than that of drywall. Choosing the right type and sheen of paint is important. Glossy finishes give molding a bit of a shine but, depending on the look you’re trying to achieve, a flat sheen can also work well. It’s best to test on a small piece of molding and hold it up to the wall at ceiling or floor level in different lighting (natural or lamp) to ensure satisfaction.
Painting molding is not difficult if you prepare. For a professional finish, have the right tools and the right type of paint before you start. If you are looking for a painter in Indianapolis or cabinet painting Indianapolis give All Pro Painting a call.

